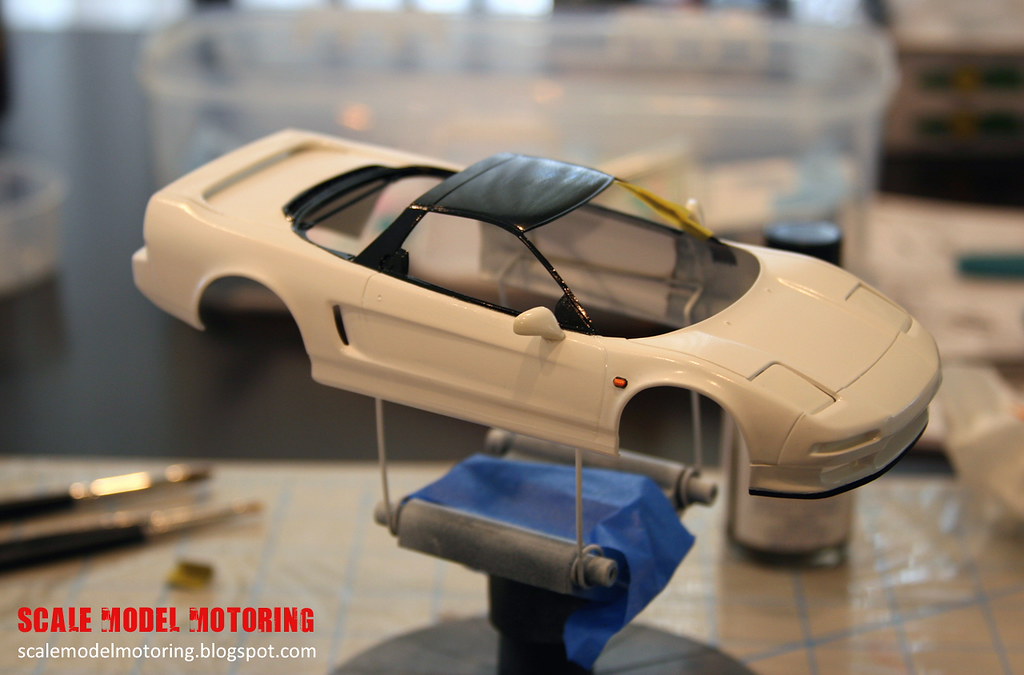
Tamiya's NSX-R kit replicates the NA1 model from 1992. The NSX-R kit is based on Tamiya's own NSX model released in the early 90's. The key differences between the 2 kits is the inclusion of R spec wheels, seats, shift knob, decals, and engine cover. This particular kit is a reissue which includes photo-etched parts to replicate the mesh engine cover as well as the front and side vents. If you are going to buy this particular model, get the new version that includes the photo-etched parts, it costs about the same.
The first step in the process is the engine build. The engine block comes in 2 parts that simply need to be glued together. With a little edge cleaning followed by Ambroid pro-weld between the 2 surfaces, the block is assembled.
I used a few small pieces of Tamiya 6mm masking tape on the surfaces of the block that other parts will be glued to. I did this to ensure that the surfaces were clean for optimal gluing after priming and painting. This was the protocol for the next few hours as the frame of the car was built up.
Frame, engine block, valve covers, drive belt, exhaust, and lower rear suspension prepped and primed with Tamiya grey surface primer.
Once the primed parts dried, they were ready for paint. I started with the valve covers deciding to replicate the look of what is in my NA2. To do this I needed flat red for the valve covers, semi gloss black for the side covers, and gunmetal for the spark plug covers. The instructions don't call out painting the oil cap, but it is easy enough to paint that section semi gloss black for a more realistic look.